Mixing Tank Maintenance
Mixing Tank Maintenance | Cleaning Procedures That Protect Product Quality and Equipment Life
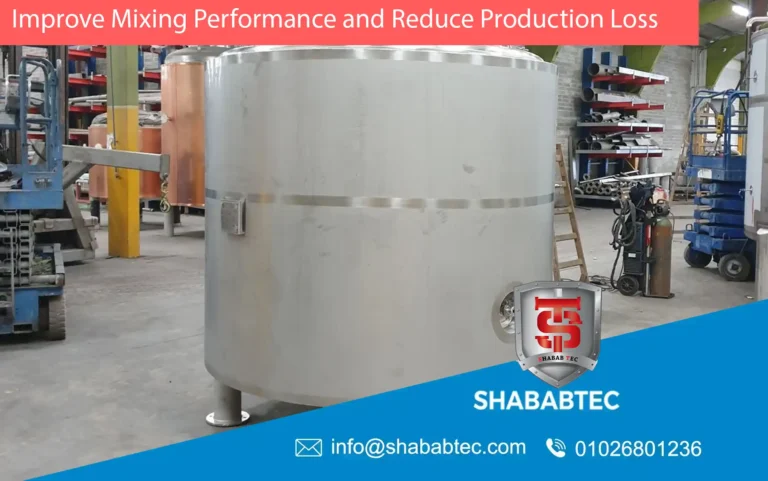
Good mixing tank maintenance is not something factories should do only when a problem appears. It is a daily operation habit that protects product quality, reduces downtime, prevents contamination, improves equipment lifetime, and keeps the production line running smoothly. Whether the tank is used for food, cosmetics, pharmaceuticals, detergents, chemicals, adhesives, syrups, creams, gels, sauces, or semi-solid products, proper maintenance and cleaning are essential.
A clear tank cleaning procedure helps operators clean the tank correctly after every batch. Without a fixed method, product residue may remain on the tank walls, agitator blades, discharge valve, shaft seal, and transfer lines. Over time, this can cause bad smell, color contamination, corrosion, product buildup, bacterial risk, weak mixing, or difficult operation.
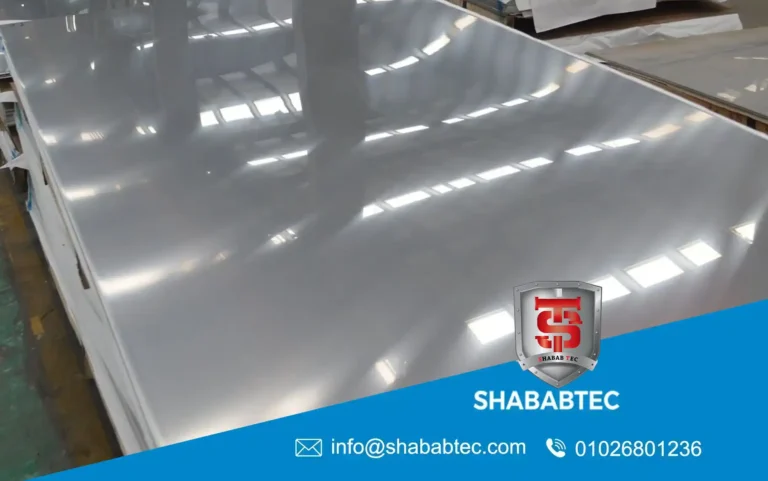
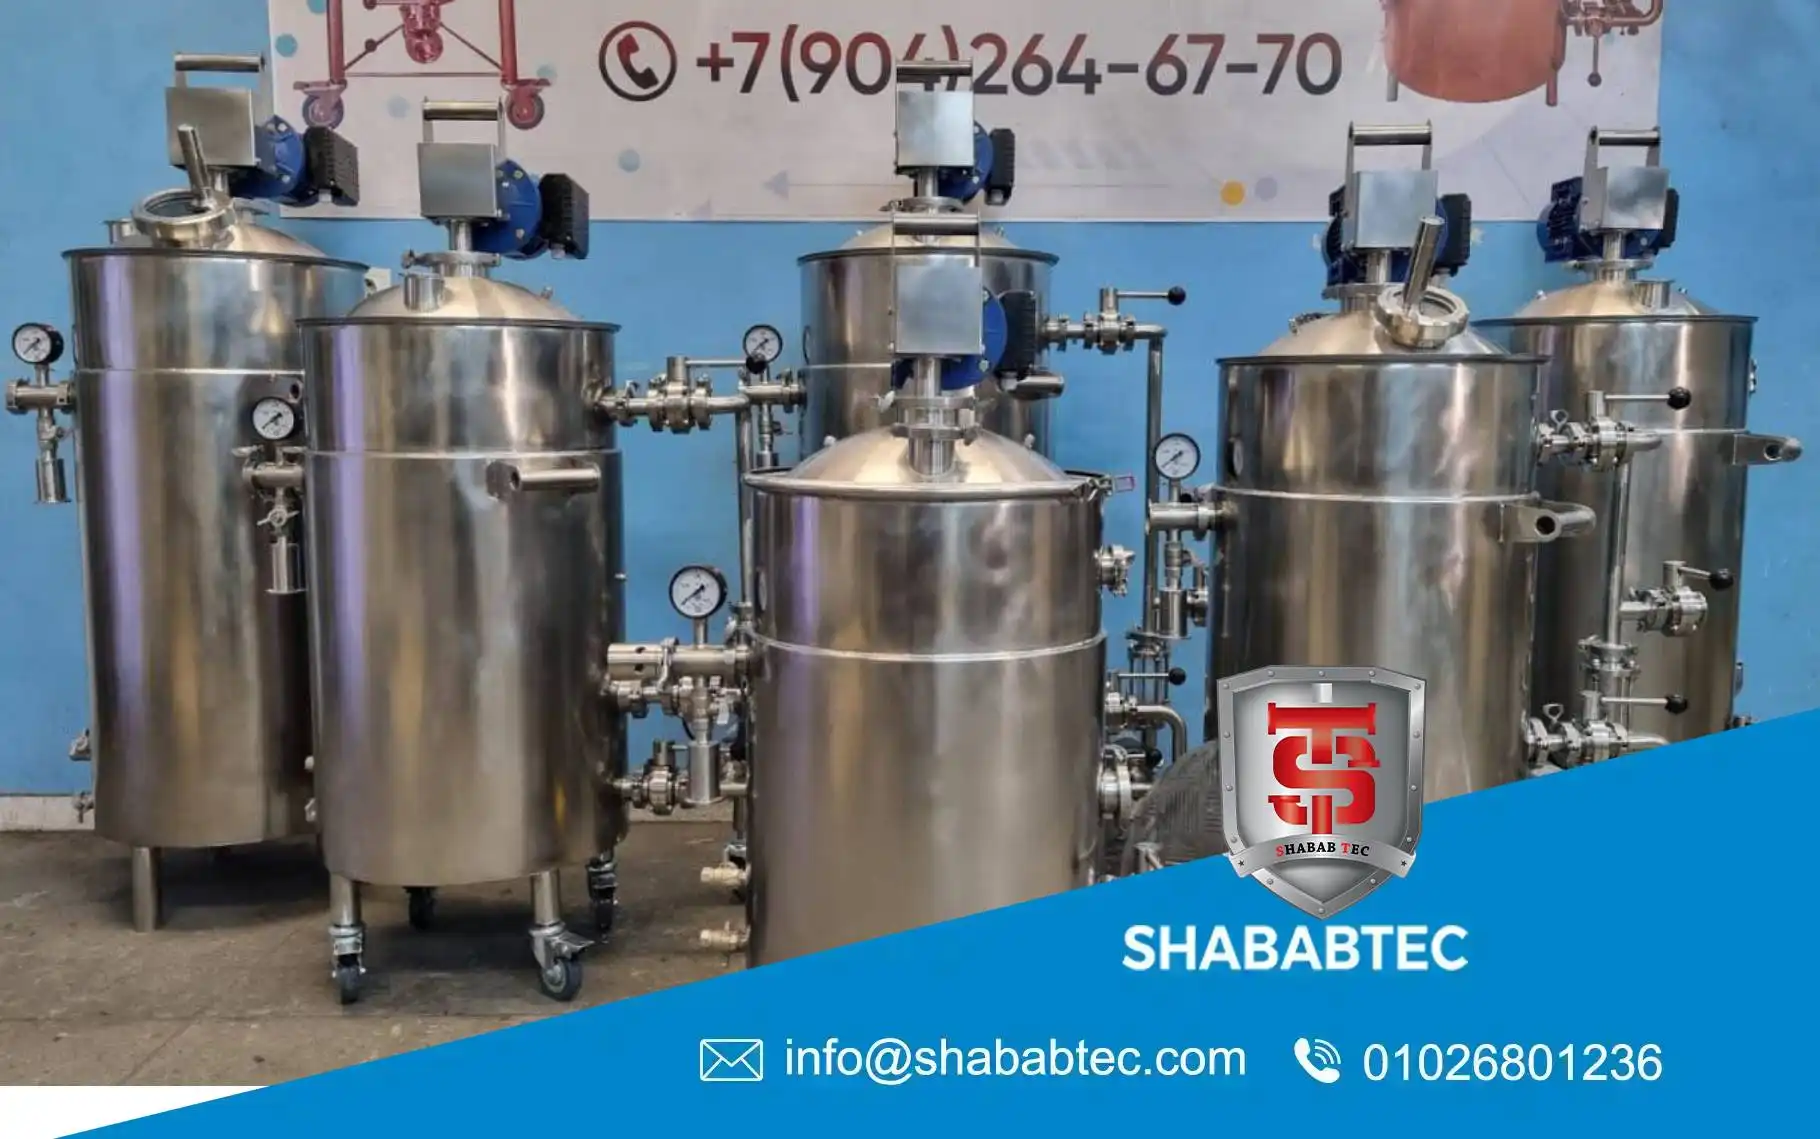
For factories using stainless steel tanks, stainless tank cleaning should be done carefully using suitable tools and cleaning materials. A stainless steel tank is strong and hygienic, but it still needs proper care. Wrong chemicals, rough tools, or poor rinsing can damage the surface and reduce its corrosion resistance. This guide explains practical industrial tank cleaning, daily mixing equipment maintenance, and the best way for cleaning mixing tank systems in real production environments.
See Also: Industrial Stainless Steel Mixing Tanks – Complete Guide
Why Mixing Tank Maintenance Matters
Mixing tank maintenance directly affects production quality. A tank may look clean from outside, but the real issues usually happen inside the vessel and around moving parts. Product residue can hide under agitator blades, around the shaft, inside the discharge valve, or near the tank bottom.
If the tank is not maintained properly, the factory may face repeated problems such as:
- Product contamination between batches
- Different color or smell in the next product
- Residue buildup on internal surfaces
- Weak mixing due to dirty blades
- Discharge valve blockage
- Shaft seal leakage
- Motor or gearbox stress
- Corrosion spots on stainless steel
- Longer cleaning time after production
- Unexpected production downtime
Regular maintenance reduces these problems and helps the production team work with more confidence.
What is a Tank Cleaning Procedure?
A tank cleaning procedure is a fixed step-by-step method used to clean a tank after production. It tells operators what to remove, what to rinse, what cleaning solution to use, how long to clean, how to inspect the tank, and when the tank is ready for the next batch.
The exact procedure depends on the product. A tank used for syrup does not need the same cleaning method as a tank used for adhesive. A cream tank may need more attention around scrapers and homogenizers. A detergent tank may need foam control during washing. A pharmaceutical or food tank may need stricter inspection before reuse.
A strong tank cleaning procedure should be simple enough for operators to follow every day and detailed enough to prevent mistakes.
Industrial Tank Cleaning | Main Goals
The goal of industrial tank cleaning is not only making the tank look clean. The real goal is to remove product residue, protect the tank surface, prevent contamination, and prepare the equipment for safe production.
Good cleaning should achieve:
- Removal of visible product residue
- Removal of sticky buildup from walls and blades
- Clean discharge valve and outlet path
- Clean agitator shaft and seal area
- Safe internal surface condition
- No unwanted smell from previous batch
- No color transfer to the next product
- No cleaning chemical residue
- Ready condition for the next production cycle
For sensitive industries, cleaning may also include documented inspection and approval before starting the next batch.
Cleaning Mixing Tank | Basic Step-by-Step Method
Step 1 | Stop the Mixer Safely
Before cleaning mixing tank systems, the mixer must be stopped safely. Operators should make sure the agitator is not running and that the control panel is switched off according to the factory’s safety rules.
If the tank includes heating, cooling, vacuum, pressure, or transfer pumps, these systems should also be stopped and isolated before cleaning begins.
Step 2 | Empty the Tank Completely
The tank should be discharged as much as possible before washing. Product left inside the tank increases cleaning time and may block the outlet.
For low-viscosity liquids, gravity discharge may be enough. For thick products such as cream, gel, ointment, adhesive, chocolate, or paste, the tank may need pump support, scraper movement, or manual removal of remaining product depending on the design.
Step 3 | First Rinse
The first rinse removes loose product residue from the tank walls, bottom, blades, and outlet area. Warm water may help with sticky or oily products, but the water temperature should match the product and tank material.
This step is important because using cleaning chemicals before removing heavy residue can waste chemicals and make cleaning less effective.
Step 4 | Apply Cleaning Solution
The cleaning solution should be suitable for the product and stainless steel surface. Some products need alkaline cleaning, some need mild detergent cleaning, and some may need special chemical treatment.
During stainless tank cleaning, harsh or unsuitable chemicals should be avoided because they may damage the stainless steel surface, seals, gaskets, or valves.
Step 5 | Run Low-Speed Agitation if Suitable
In some tanks, low-speed agitation can help circulate the cleaning solution inside the tank. This can improve cleaning around blades, walls, and the bottom area.
The mixer speed should be controlled carefully to avoid splashing, foam, or unsafe operation. If the tank has scrapers, they may help remove product from the wall during cleaning.
Step 6 | Clean Valves and Outlet Lines
The discharge valve and outlet path are common areas for residue buildup. They should not be ignored. Product can remain inside valves even when the tank looks clean from above.
For products like syrup, liquid soap, shampoo, cream, adhesive, or sauce, the outlet area should be rinsed carefully until no residue remains.
Step 7 | Final Rinse
After the cleaning solution has done its work, the tank should be rinsed properly. The goal is to remove all cleaning chemical residue and loosened product particles.
Poor rinsing can affect the next batch, especially in food, cosmetic, pharmaceutical, and personal care production.
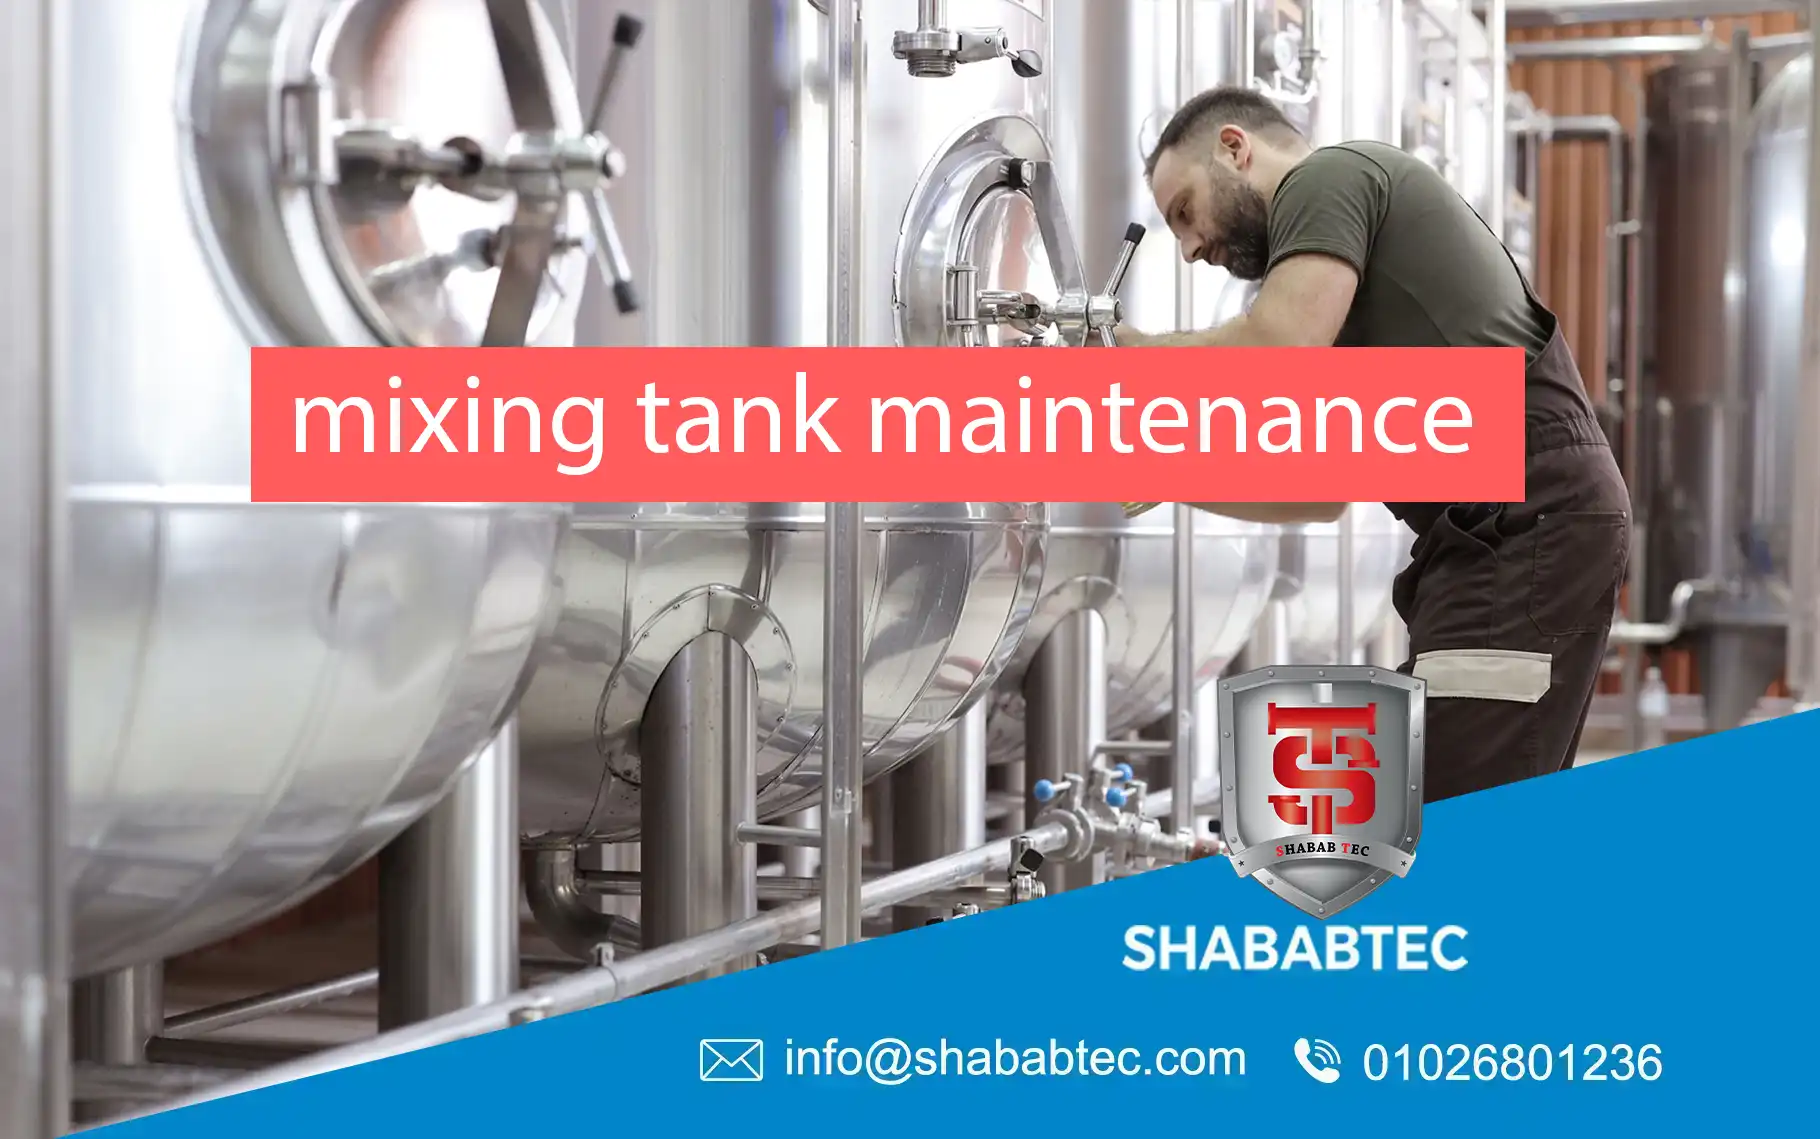
Step 8 | Inspection
After rinsing, operators should inspect the tank visually. They should check the internal wall, bottom, agitator blades, scraper parts, shaft area, seal area, and discharge valve.
If residue is still visible, the tank cleaning procedure should be repeated or adjusted.
Step 9 | Drying or Drainage
Depending on the product and production requirements, the tank may need to drain completely or dry before the next batch. Standing water inside the tank can affect some formulas and may increase contamination risk.
Step 10 | Record Cleaning and Maintenance Notes
Factories that follow organized production should record cleaning activity, inspection notes, and any maintenance issues. This helps track repeated problems and improve daily operation.
Stainless Tank Cleaning | Important Rules
Stainless tank cleaning needs the right method to protect the surface. Stainless steel is corrosion-resistant, but it is not impossible to damage. Wrong cleaning habits can create scratches, stains, or corrosion points.
Important rules include:
- Use cleaning chemicals suitable for stainless steel
- Avoid rough steel brushes on internal surfaces
- Rinse cleaning chemicals completely
- Do not leave aggressive products inside the tank for long periods
- Clean weld areas and corners carefully
- Inspect the surface for scratches or stains
- Dry or drain the tank when required
- Review cleaning method when changing product formula
For products containing salts, acids, strong detergents, or aggressive chemicals, stainless steel grade and cleaning method should be reviewed carefully.
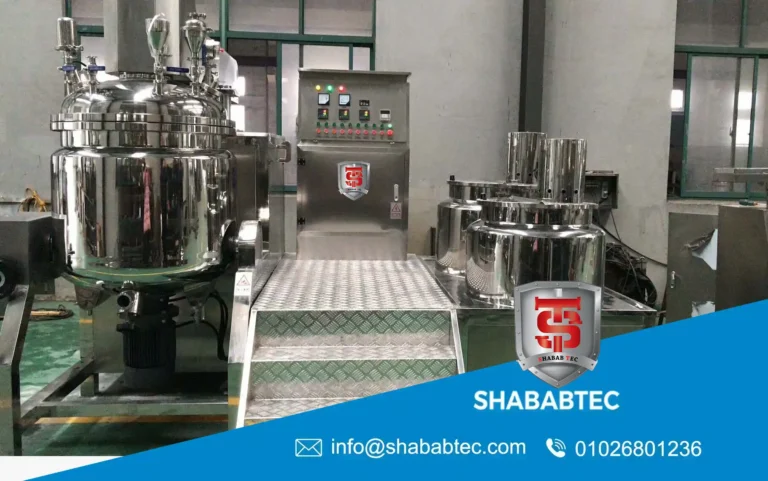
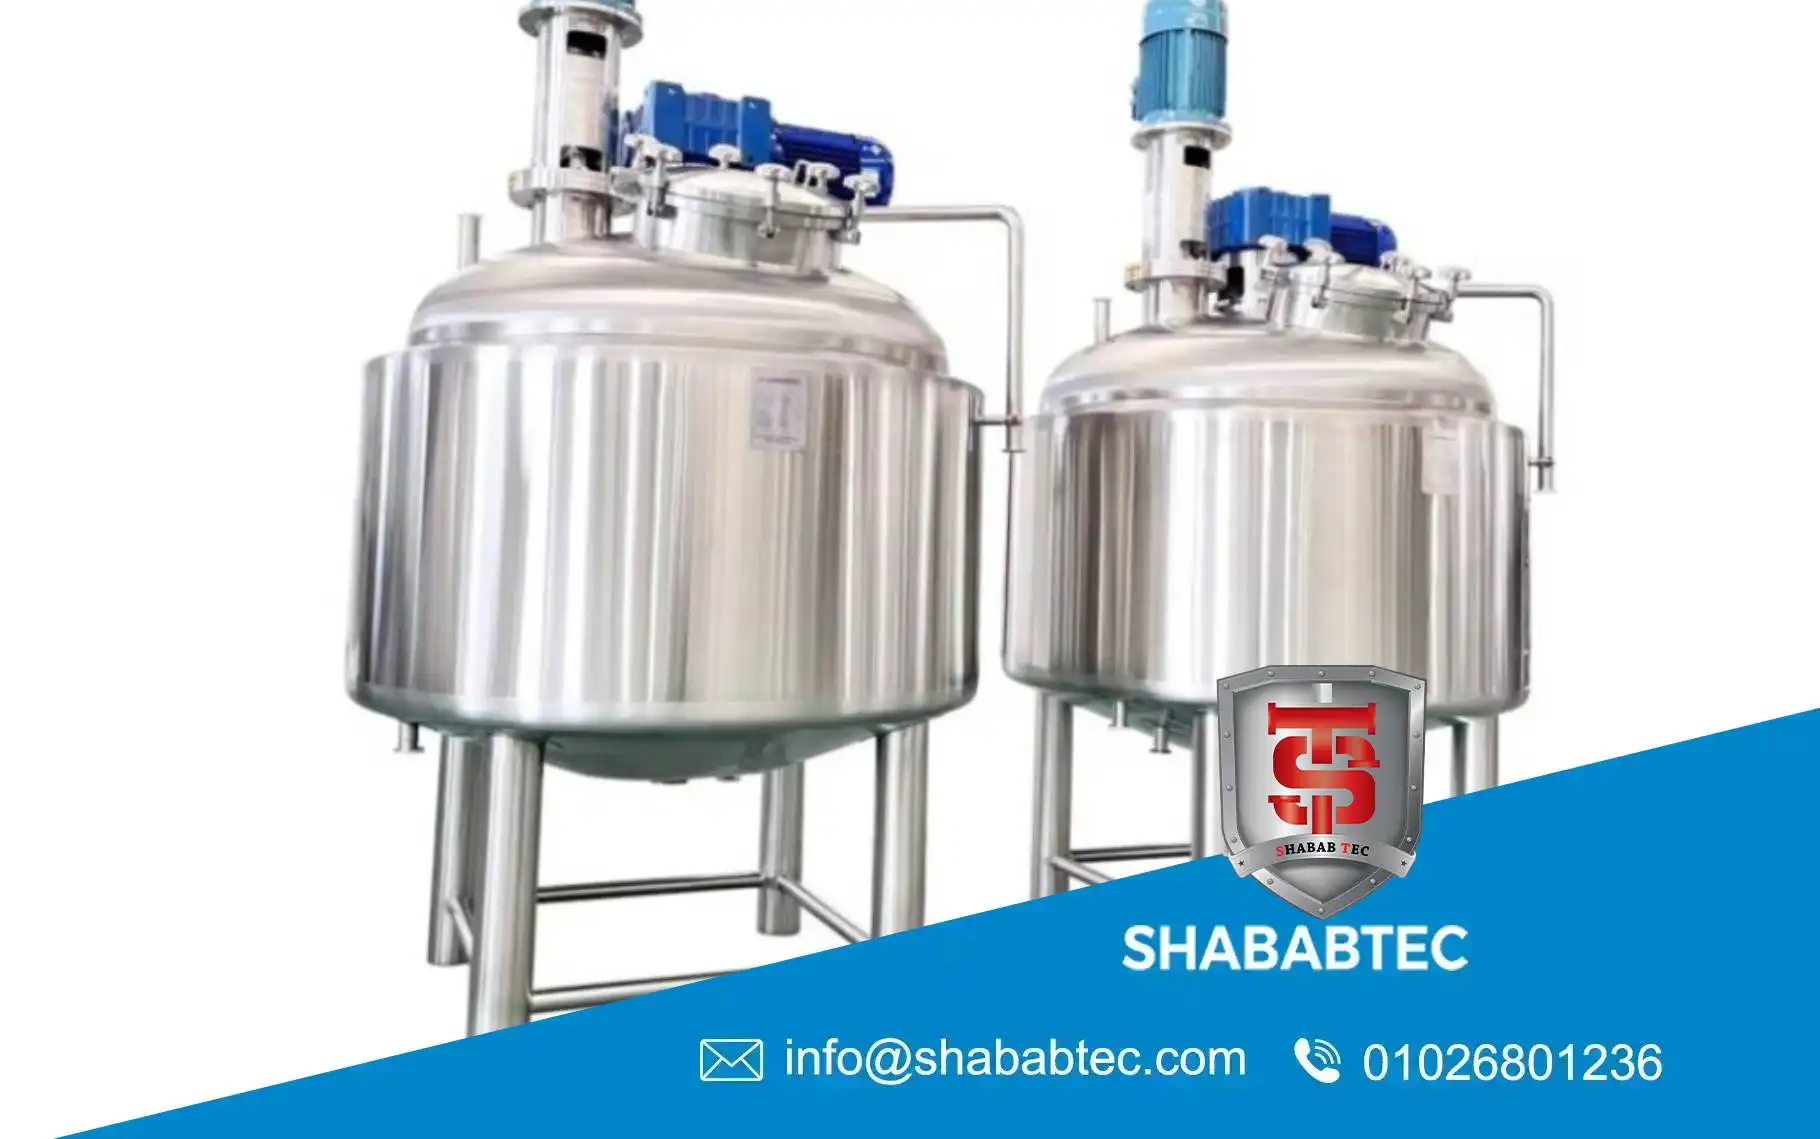
Mixing Equipment Maintenance | What to Check Regularly
Mixing equipment maintenance includes more than washing the tank. The mixer has moving parts that need inspection. The motor, gearbox, shaft, seal, agitator, scraper, valve, and control panel should all be checked regularly.
Motor
The motor should run smoothly without overheating or unusual noise. If the motor becomes hot, vibrates, or stops during production, the product load may be too high or the system may need maintenance.
Gearbox
The gearbox should be checked for noise, oil leakage, and smooth operation. Gearbox problems can affect mixing speed and torque.
Agitator Shaft
The shaft should rotate smoothly without visible wobbling. Shaft misalignment can damage seals and bearings.
Agitator Blades
Blades should be inspected for product buildup, bending, cracks, or loose connections. Dirty or damaged blades can reduce mixing performance.
Scraper System
If the tank includes scrapers, scraper blades should be checked for wear. Worn scrapers may not clean the tank wall properly during mixing or heating.
Shaft Seal
The shaft seal should be checked for leakage. A leaking seal can cause product loss, contamination risk, and mechanical damage.
Discharge Valve
The discharge valve should open and close properly. It should also be cleaned carefully because residue often remains inside the valve area.
Control Panel
The control panel should be kept clean and protected from water, product spills, and chemical exposure. Buttons, speed controls, emergency stop, and temperature display should be checked regularly.
Daily Mixing Tank Maintenance Checklist
A daily mixing tank maintenance routine helps catch small problems before they become expensive failures.
- Check that the tank is clean before production
- Inspect the discharge valve before loading product
- Check mixer blades for residue or damage
- Listen for abnormal motor or gearbox noise
- Watch for vibration during operation
- Check shaft seal area for leakage
- Monitor mixer speed and load
- Clean the tank immediately after production
- Inspect internal surfaces after cleaning
- Record any unusual issue
This simple routine can reduce downtime and make production more predictable.
Weekly Mixing Equipment Maintenance Checklist
Weekly mixing equipment maintenance should go deeper than daily checks. It helps protect the mechanical parts and tank structure.
- Inspect motor mounting bolts
- Check gearbox condition and leakage
- Inspect shaft alignment visually
- Check agitator blade connections
- Inspect scraper parts if available
- Check valve sealing condition
- Inspect tank legs and support structure
- Check control panel cleanliness
- Inspect heating or cooling jacket connections if available
- Review cleaning records and repeated issues
Monthly Industrial Tank Cleaning and Maintenance Review
A monthly review helps the factory understand whether the cleaning and maintenance plan is working. Some problems appear slowly over time, such as corrosion, gasket wear, scraper wear, or internal surface damage.
Monthly review should include:
- Deep inspection of internal tank surface
- Inspection of weld areas
- Check for scratches, dents, or corrosion spots
- Inspection of all valves and gaskets
- Review of motor and gearbox performance
- Check temperature sensors if available
- Review cleaning chemical compatibility
- Confirm that operators follow the same tank cleaning procedure
This gives production managers better control over equipment condition.
Tank Cleaning Procedure by Product Type
Food Products
Food products such as sauce, syrup, chocolate, jam, and fruit fillings can be sticky and may dry quickly on surfaces. Cleaning should happen soon after production. Warm water and suitable food-safe cleaning methods may help remove sugar, oil, and fruit residue.
Cosmetic Products
Cosmetic products such as cream, lotion, shampoo, liquid soap, and gel may contain oils, fragrances, thickeners, and surfactants. The tank should be cleaned carefully to avoid fragrance transfer and residue buildup.
Pharmaceutical Products
Pharmaceutical tanks require more controlled cleaning and inspection. Product residue must be removed completely, especially around valves, seals, agitators, and tank bottom areas.
Chemical Products
Chemical products such as paint, adhesive, detergent, fertilizer, and coatings may require special cleaning methods. Material compatibility is very important because the cleaning chemical must not damage the tank, seals, or valves.
High-Viscosity Products
Thick products such as ointment, paste, adhesive, cream, chocolate, and gel should be cleaned before residue hardens. Scraper systems and warm cleaning solutions may help depending on the product.
Common Mistakes in Cleaning Mixing Tank Systems
Waiting Too Long After Production
Product residue becomes harder to remove when it dries, cools, or hardens. Cleaning should start soon after discharge whenever possible.
Ignoring the Discharge Valve
The tank may look clean, but residue often remains inside the valve. This can contaminate the next batch or block discharge later.
Using Wrong Cleaning Chemicals
Unsuitable chemicals can damage stainless steel, seals, gaskets, or internal polishing. The cleaning material should match the tank and product.
Using Rough Tools
Rough metal tools can scratch stainless steel surfaces. Scratches may hold residue and make future cleaning harder.
Poor Rinsing
If cleaning solution remains inside the tank, it can affect the next product. Final rinsing should be done carefully.
No Inspection After Cleaning
Cleaning without inspection is risky. Operators should check the tank before declaring it ready.
Ignoring Mechanical Maintenance
Cleaning alone is not enough. The mixer, motor, gearbox, shaft, seal, and valves also need regular inspection.
Signs Your Mixing Tank Needs Maintenance
Factories should not wait until the tank stops working. There are warning signs that show the tank or mixer needs attention.
- Unusual noise from motor or gearbox
- Visible vibration during mixing
- Leakage around shaft seal or valve
- Slow discharge
- Residue remains after normal cleaning
- Product quality changes between batches
- Motor overheating
- Scraper not touching the wall properly
- Rust spots or stains on stainless steel
- Control panel readings are unstable
When these signs appear, the equipment should be checked before the problem becomes bigger.
How to Improve Industrial Tank Cleaning Efficiency
Factories can make industrial tank cleaning faster and more reliable by designing the process properly from the beginning.
Useful improvements include:
- Clean the tank immediately after discharge
- Use the right water temperature
- Use suitable cleaning chemicals
- Use low-speed agitation during washing when safe
- Train operators on the same procedure
- Inspect valves and outlets every time
- Choose smooth stainless steel internal finishing
- Use proper discharge design to reduce leftover product
- Keep cleaning tools dedicated and clean
- Record repeated cleaning problems
Good cleaning efficiency saves time, water, chemicals, and labor.
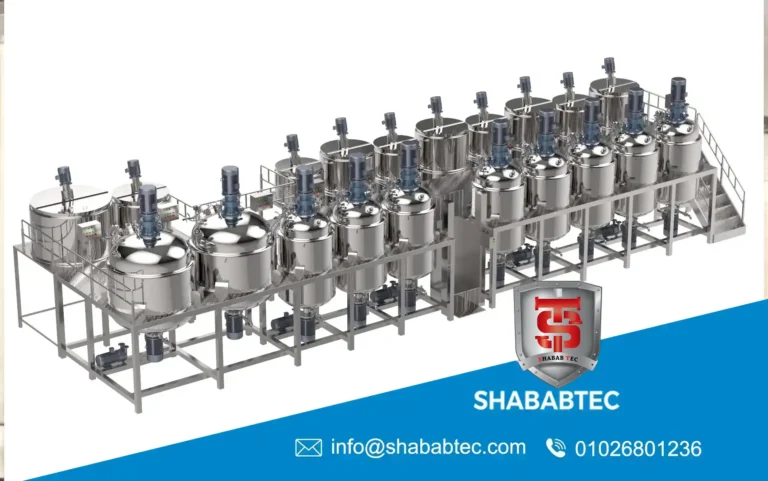
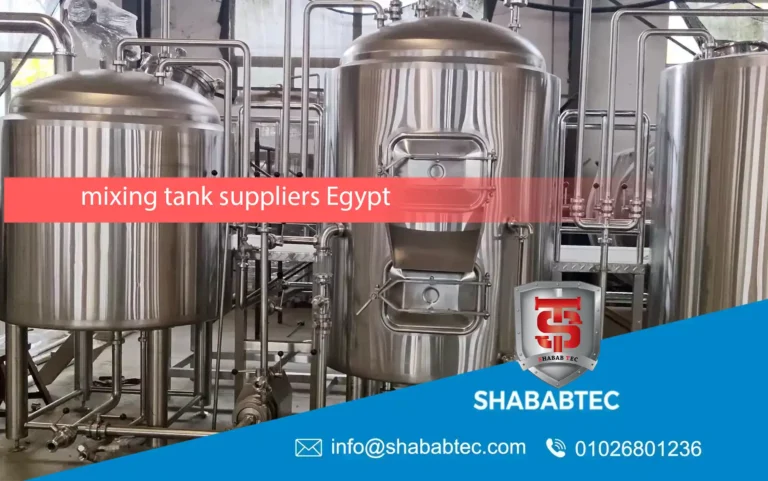
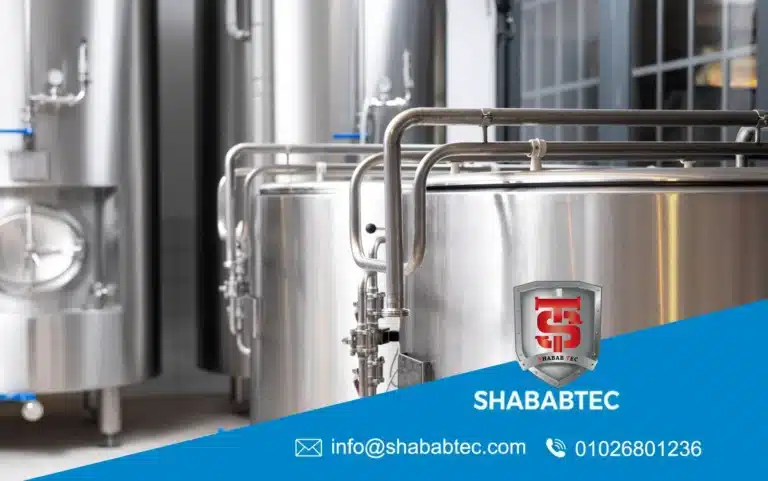
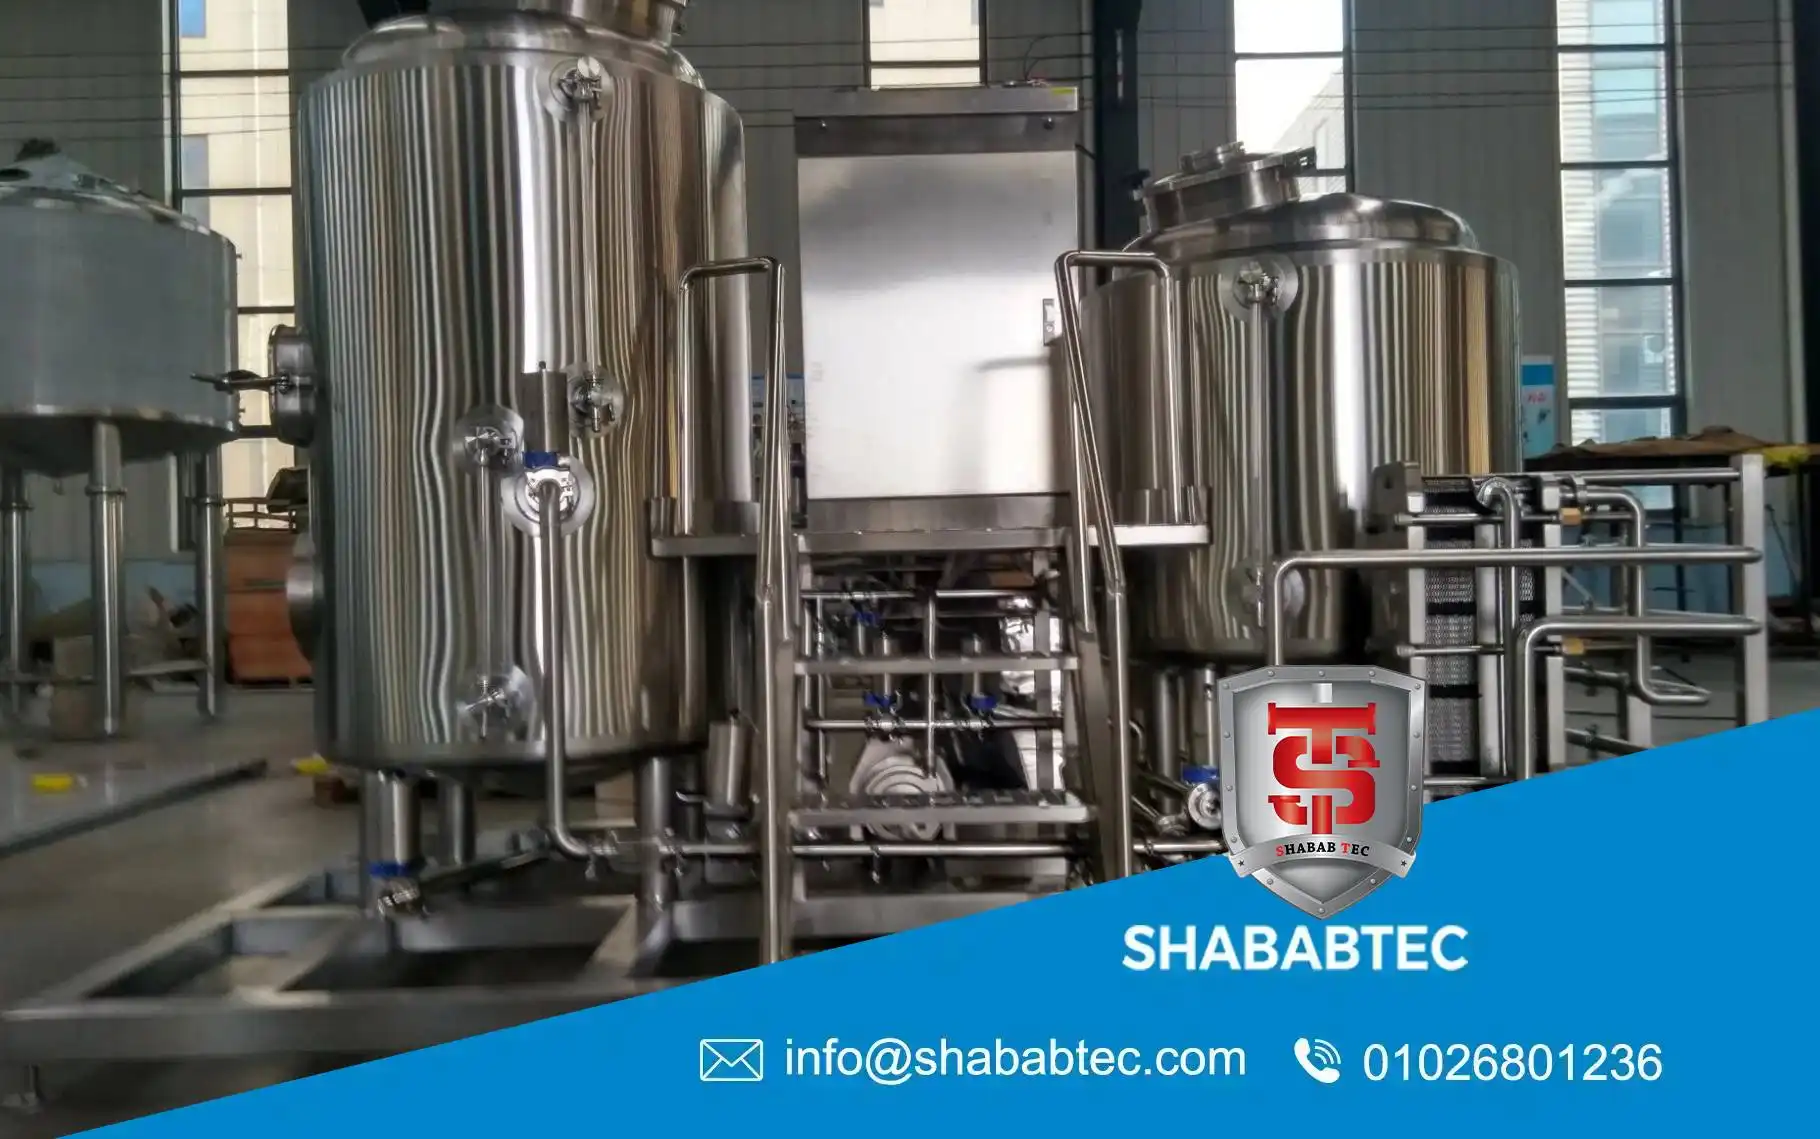
How ShababTec Supports Easier Mixing Tank Maintenance
ShababTec provides stainless steel equipment and industrial mixing systems for liquid and semi-solid production. The company supports factories working with food, cosmetics, pharmaceuticals, chemicals, detergents, adhesives, syrups, sauces, creams, gels, ointments, chocolate, jam, and other industrial products.
For factories concerned about mixing tank maintenance, ShababTec can help design tanks with practical cleaning access, suitable discharge valves, smooth stainless steel surfaces, proper agitator design, and maintenance-friendly components.
A well-designed tank makes cleaning mixing tank systems easier from the first day. Instead of struggling with dead zones, poor outlet placement, or hard-to-reach parts, factories can choose a tank design that supports easier operation, cleaning, and long-term reliability.
Best Practices for Stainless Tank Cleaning
To keep stainless steel tanks in good condition, operators should follow consistent stainless tank cleaning practices.
- Remove product residue before it dries
- Use non-abrasive cleaning tools
- Use compatible cleaning chemicals
- Rinse thoroughly after cleaning
- Inspect welds and corners
- Do not leave salty or acidic residue inside the tank
- Dry or drain the tank when required
- Protect the surface from scratches
- Check seals and gaskets during cleaning
- Report stains, pitting, or corrosion immediately
These habits help protect the tank surface and reduce maintenance problems.
Final Thoughts
Strong mixing tank maintenance protects the tank, product, and production line. A clear tank cleaning procedure helps operators clean the equipment properly after every batch and avoid residue buildup, contamination, corrosion, and production delays.
Good industrial tank cleaning should include the tank body, agitator, shaft seal, discharge valve, outlet lines, scraper parts, and all product-contact areas. At the same time, regular mixing equipment maintenance should check the motor, gearbox, shaft, seal, blades, valves, and control panel.
For factories using stainless steel equipment, proper stainless tank cleaning keeps the surface clean, smooth, and corrosion-resistant. ShababTec can support factories with practical stainless steel mixing tanks designed for easier cleaning, safer operation, and better long-term performance.
FAQ – Mixing Tank Maintenance
What is mixing tank maintenance?
Mixing tank maintenance means regularly checking, cleaning, and servicing the tank, motor, gearbox, agitator, shaft seal, valves, and control parts to keep the equipment working safely and efficiently.
What is a proper tank cleaning procedure?
A proper tank cleaning procedure includes safe shutdown, full discharge, first rinse, cleaning solution, agitation if suitable, valve cleaning, final rinse, inspection, drying or drainage, and cleaning record.
Why is industrial tank cleaning important?
Industrial tank cleaning is important because it removes residue, prevents contamination, protects product quality, reduces corrosion risk, and prepares the tank for the next batch.
What should be included in mixing equipment maintenance?
Mixing equipment maintenance should include checking the motor, gearbox, shaft, agitator blades, scraper parts, shaft seal, discharge valve, tank structure, and control panel.
How should stainless tank cleaning be done?
Stainless tank cleaning should be done with compatible cleaning chemicals, non-abrasive tools, proper rinsing, surface inspection, and careful cleaning of welds, valves, and product-contact areas.
What is the best method for cleaning mixing tank systems?
The best method for cleaning mixing tank systems depends on the product, but it should always remove residue from the tank wall, blades, bottom, discharge valve, and outlet path before the next batch.
See Also: homogenization process | glue tank